Photoshop Tutorial - Tattoo Coming to Life
Share this tutorial:
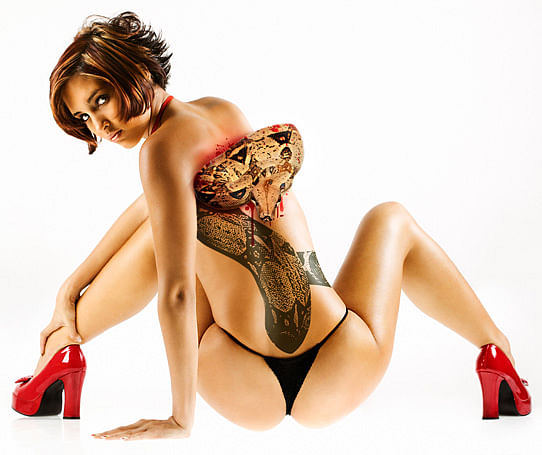
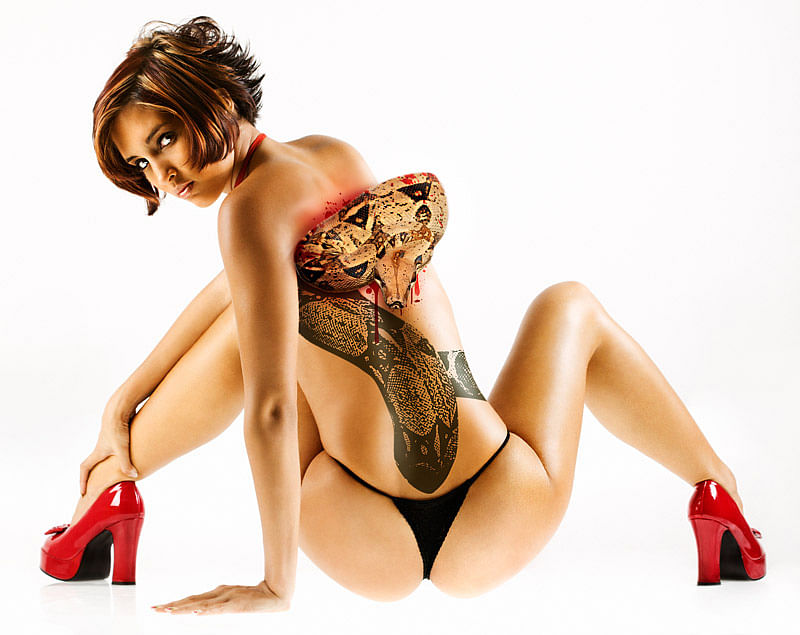
In the following tutorial you'll learn how to create a stylized snake tattoo that jumps out of the subject's skin. All it takes is a little bit of compositing and some airbrushing to detail this wild scene.
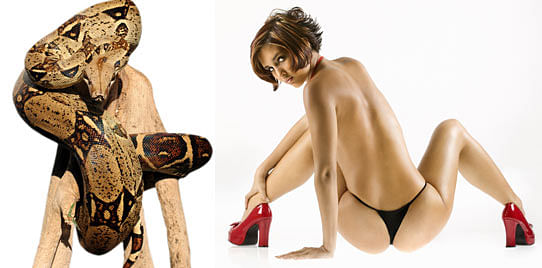
Start out by sourcing your stock photography. You'll need a compelling subject with a fair amount of bare skin for tattooing. In this case, we'll use a model with plenty of uncovered area.
While searching for the right photo of your desired tattoo, keep in mind the position and angle it will lay on the skin. For this tutorial we'll use a straight-on shot of a python.
Open your tattoo photo in Photoshop and use the Pen Tool to outline the object from the background. Now right click on the canvas and choose "Make Selection".
Copy the selection (Ctrl + C), open your model photo, and paste it into a new layer (Ctrl + Shift + N) on top of your subject. Position the tattoo to your liking.
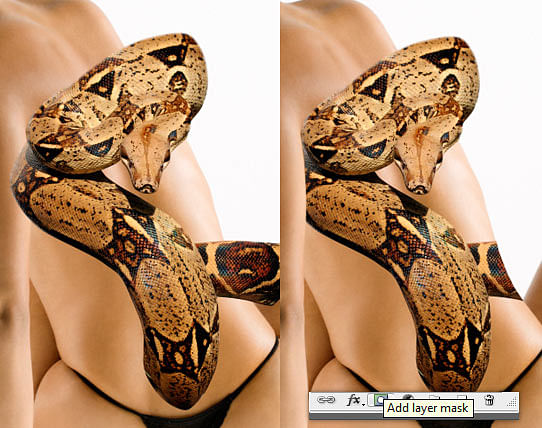
Some parts of the tattoo may extend off of the body or overlap onto other body parts. We'll use the Pen Tool to create a tattooing area in the same way we extracted the tattooing object, except this time trace the contours of the skin, paying close attention to the parts of the tattoo that fall off the subject or would be hidden underneath overlapping limbs.
However, you do not need to trim off parts of the tattoo that will remain "real". With your path set, "Make Selection" and then "Add layer mask".
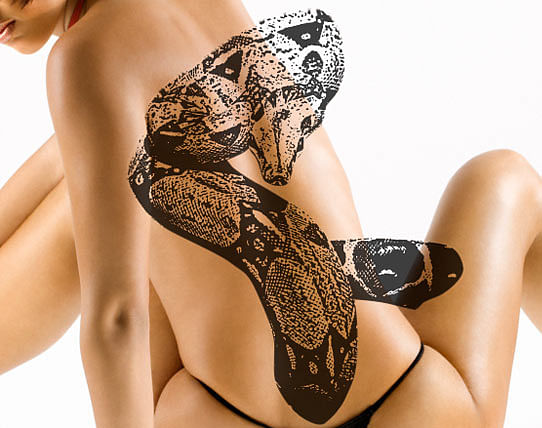
Press "d" and then "x" to change the foreground color to white and background color to black. Now copy your tattoo layer (Ctrl + J) and use the new layer to apply a Stamp filter, found in the Sketch filters menu.
Play with the settings until you get your desired tattoo result. For the example below, the light/dark balance was set to 25 and the smoothness to 5. Another filter you may want to try is the Photocopy filter.
Note: it helps to be working with larger images to maintain detail. Once your tattoo is ready, set the layer blending mode to Multiply, and turn down the opacity to about 90%.
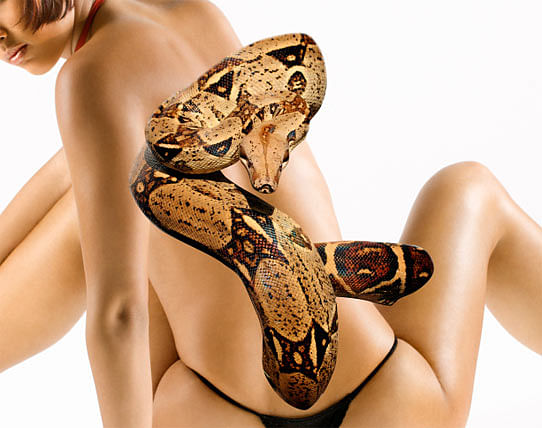
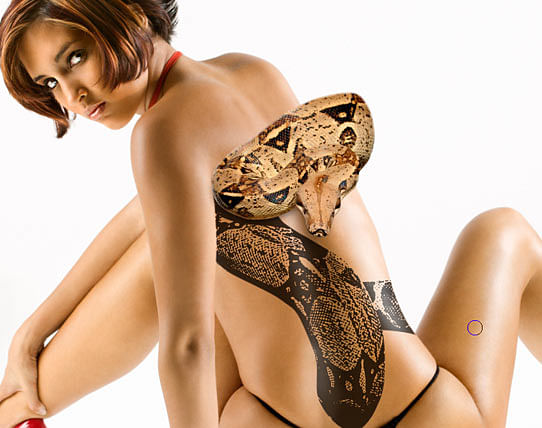
Here's where you decide what part of the tattoo will remain real. With the unfiltered tattoo layer selected, make another selection to isolate a section of the object and mask it ("Add layer mask") as you did before with the pen tool.
Make sure this "real" layer is now on top of the filtered tattoo layer. To add some perspective, add shadows with a medium black brush and low opacity onto a new layer in between your tattoo layers. These soft diffused shadows will make the real portion of the tattoo more three dimensional.
If your filtered tattoo appears a bit flat, add a new layer directly above it and brush on some highlights with a low opacity white brush. Follow the highlights that appear naturally on the skin. Keep this layer subtle for a convincing light effect.
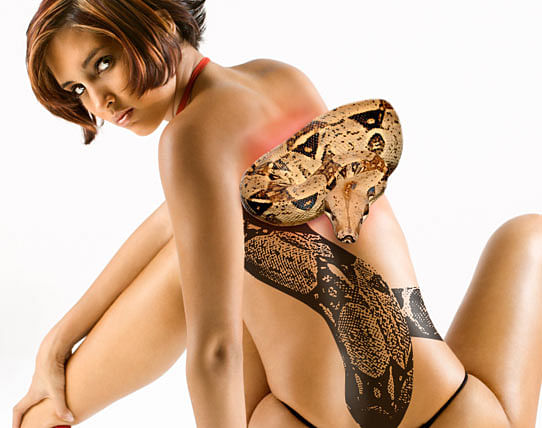
Just under your shadows layer, make a new layer for lightly brushing in a red hue around the area of your "real" tattoo. This is to give the effect of the skin becoming irritated by the tattoo's transformation.
To stretch the skin slightly, use the Smudge Tool with a low strength on the model's layer. Make short outward strokes where the skin would appear to be affected.
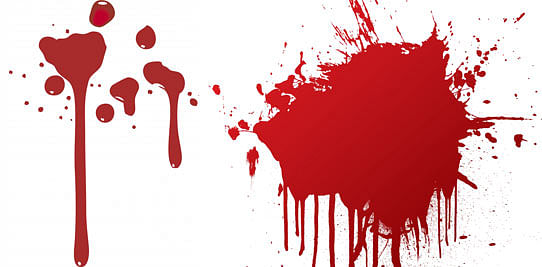
For some finishing touches, add some blood drips and splatters around the ripped skin and on top of your tattoo. Making blood spots can done with custom brushes or using stock photos of fake blood and red paint on a white background.
Finally, brush in some additional shadows, highlights, and adjust the color of the tattoo to finish off your composition.
Enjoy this tutorial?
Share it with others who might find it useful!