Photoshop Tutorial - Pheonix Hair Effect
Share this tutorial:
With some simple brushing techniques, and a bit of color tweaking, you can spice up your photos with this flaming hair tutorial.

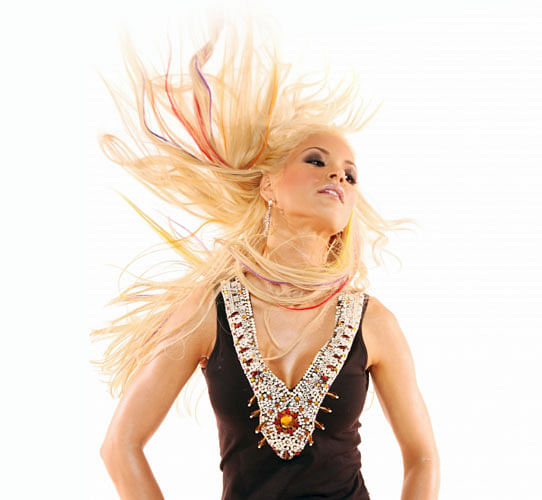
This effect relies on a good photo. You're going to a shot of some long hair, preferably flowing in the wind or tossed in the air. Blonde hair is going to work best, so if your model has darker locks, try changing it to blonde in Photoshop.
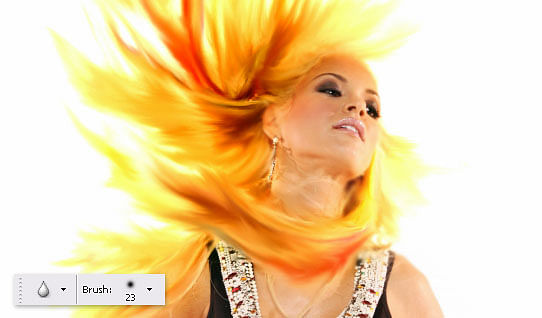
The majority of the work in this involves brushing the hair with the Smudge Tool. Use a grungy brush, with a small diameter and 50% strength to start. Begin towards the head and brush outwards, creating organic flowing movements.
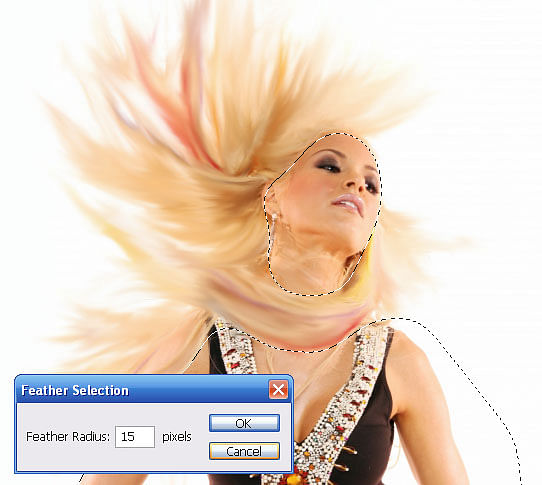
Follow the hair's natural direction as shown in the illustration below (notice the wavy black strokes). Once you've touched every strand, duplicate your layer and use a larger diameter brush to go over the hair again. Be careful not to touch the ears or skin.

When your satisfied with your wispy hair, use the Polygonal Lasso Tool to select the hair -- you don't need to be exact here. Now Feather your selection by 15 pixels.
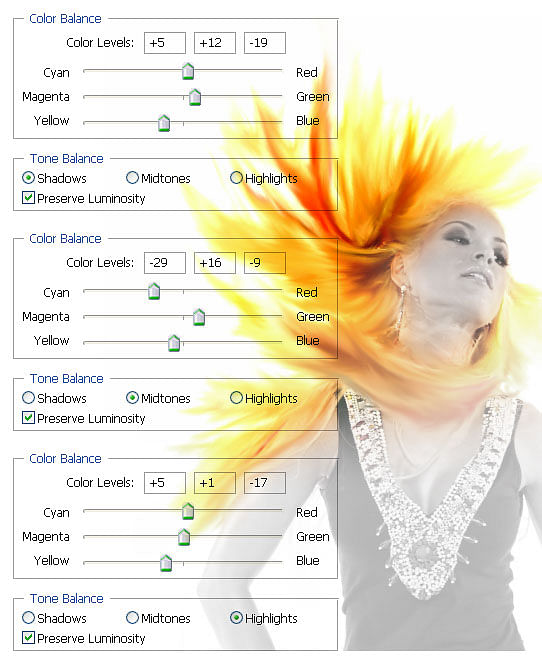
With your hair selected, bump up the brightness by +9, and the contrast by +41. These settings will vary depending on your image -- we're just trying to intensify the hair. Now comes the color correction. Make the hair glow by adding yellow shadows and highlights. Play with the settings until you've got your fire.
All of this fire will create heat, so take the Blur Tool and add some blurry spots to the edges of the face and neck.
For some final enhancements, use the brush tool with a bright yellow and feather in a few hot spots on a new layer. Blur this layer and change the Blending Mode to Overlay.
That should do it. Add an overall yellow hue to your final image and put on your shades!
Enjoy this tutorial?
Share it with others who might find it useful!